In this tutorial, I will teach you how to use Dapper with ASP.NET Core. We are going to make a small implementation with a generic repository to understand how Dapper works with a Repository Pattern.
The application will be very simple and follow a nice and clean architecture. If you are not familiar with Repository Pattern and Unit of Work, then don't worry - I will show you how to put it all together and talk you through it step by step. By the end of this tutorial, you will have a basic understanding of how Dapper works and be able to see the power of the ORM (Object-Relation Mapper).
What is Dapper?
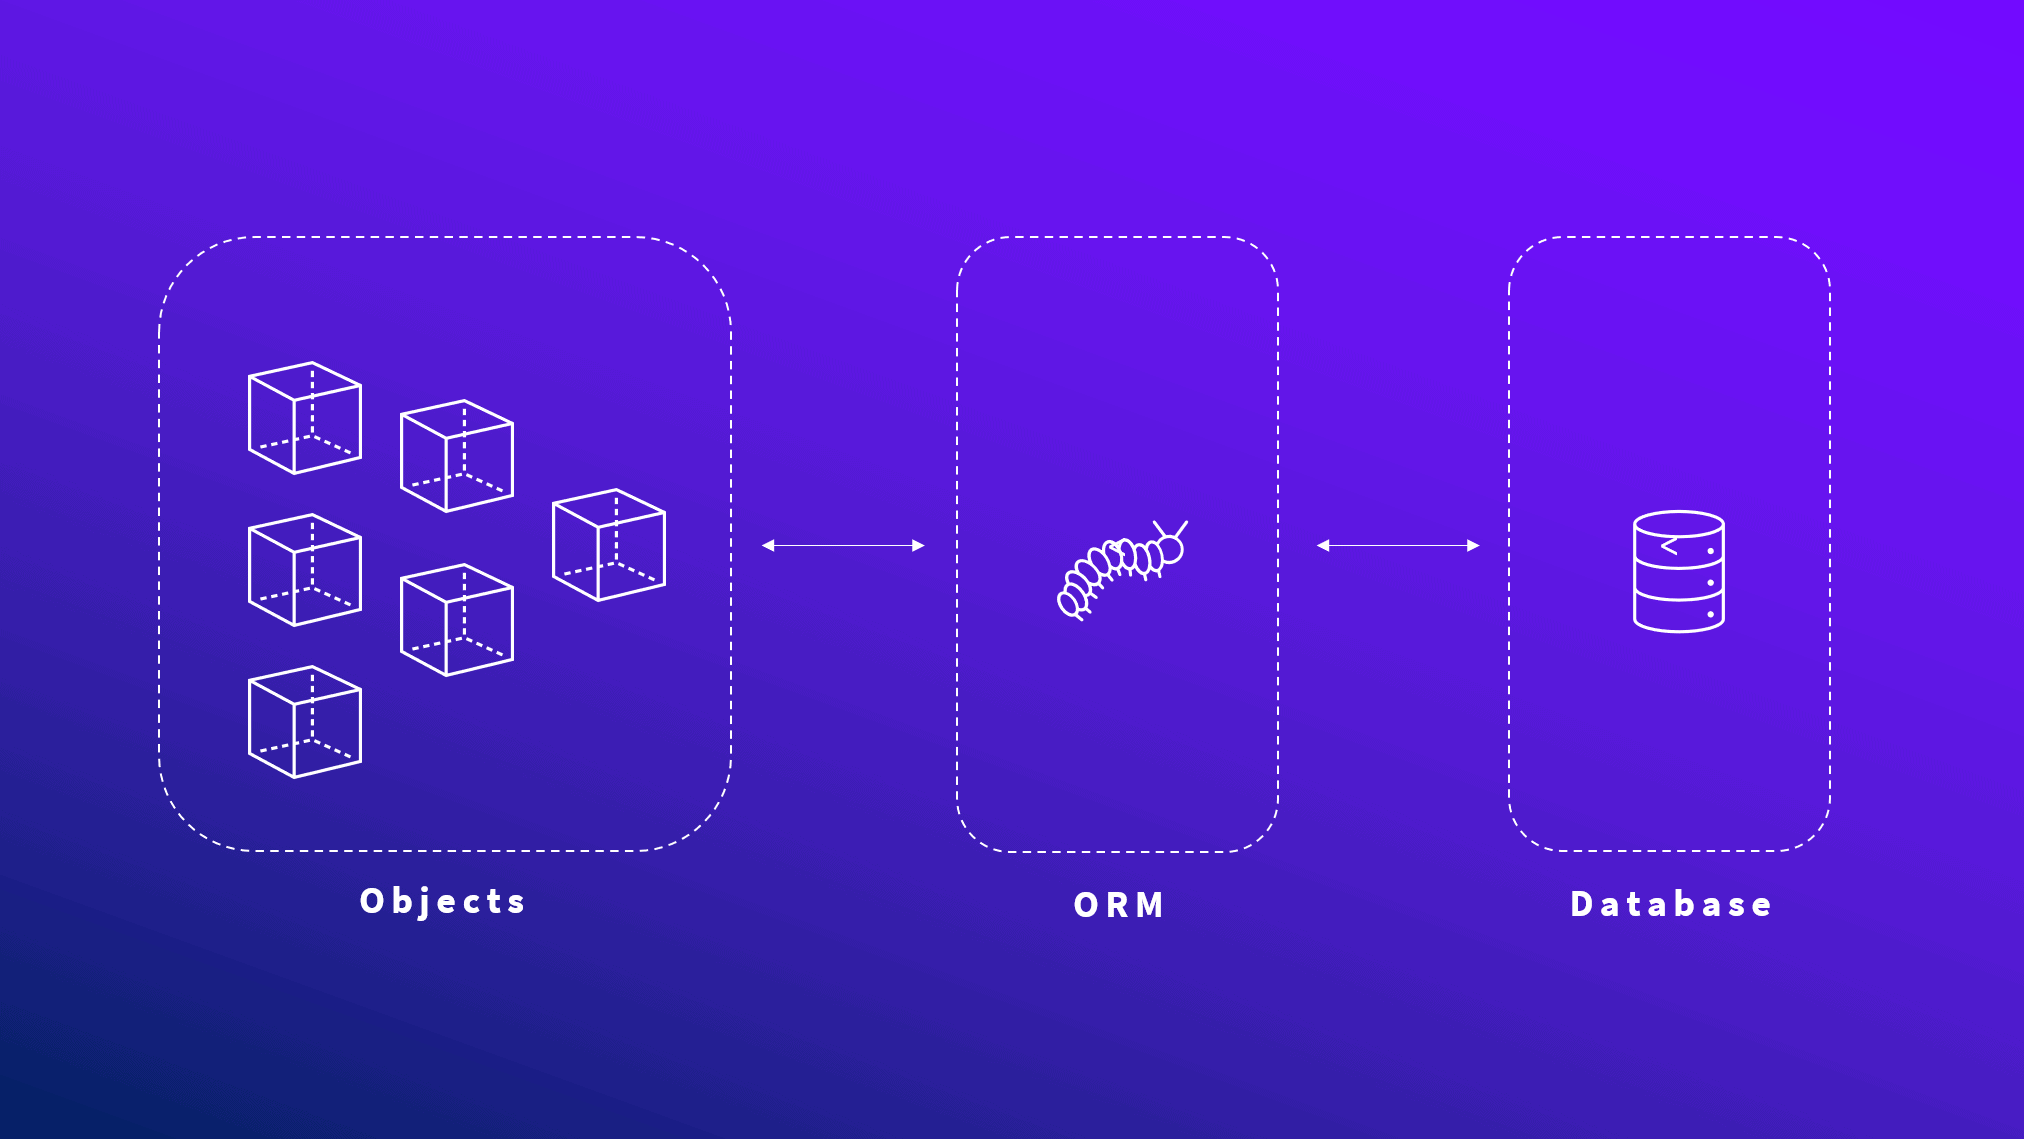
Dapper is a simple object mapper for .NET and is also referred to as the King of the C# Micro ORM in terms of speed and is virtually as fast as using a raw ADO.NET data reader. What this means is that Dapper is helping us map the data from the result from a SQL Query to a .NET class. It’s as simple as executing an SQL query in the database – the only difference is that we are doing it outside the database and getting the result mapped to a class in our application.
Dapper was built by the nice guys at StackOverflow and is (from my experience) faster at querying data from a database compared to the performance of Entity Framework. Why? The reason could be that Dappers works directly with the RAW SQL and gives it an advantage when talking performance. Dapper extends the IDbConnection by providing useful extension methods to query your database.
Dapper example to show the ease of use
Below is an example that shows you how easy it is to use Dapper. If you take a look at the first line it’s easy to see that the query looks identical to the one we would execute in SSMS. The below code will execute the query at the database and map the result to OrderDetail and return that as an object.
string sql = "SELECT TOP 10 * FROM OrderDetails";

using (var connection = new SqlConnection(FiddleHelper.GetConnectionStringSqlServerW3Schools()))
{
      var orderDetails = connection.Query<OrderDetail>(sql).ToList();

      FiddleHelper.WriteTable(orderDetails);
}
Implement Dapper in ASP.NET Core
This project will be based on .NET 5.0 with a Web API following Clean Architecture, Repository Pattern, and Unit Of Work. The application will be divided into several small projects and in the Infrastructure layer, we will be implementing Dapper in the Persistence Class Library. For the development, I will be using Visual Studio 2019 Community edition and a local SQL Express (MS SQL Server) with SQL Management Studio (SSMS) as my RDBMS.
Create the MS SQL Database and Table for products
The first thing we have to do is create the Database holding the data we need in this tutorial. Go and open up SQL Management Studio and connect to your local database (SQL Express) or a production database if you got that. Right-click on the Databases folder and select Create Database... Enter a Database name and finish by clicking on OK.
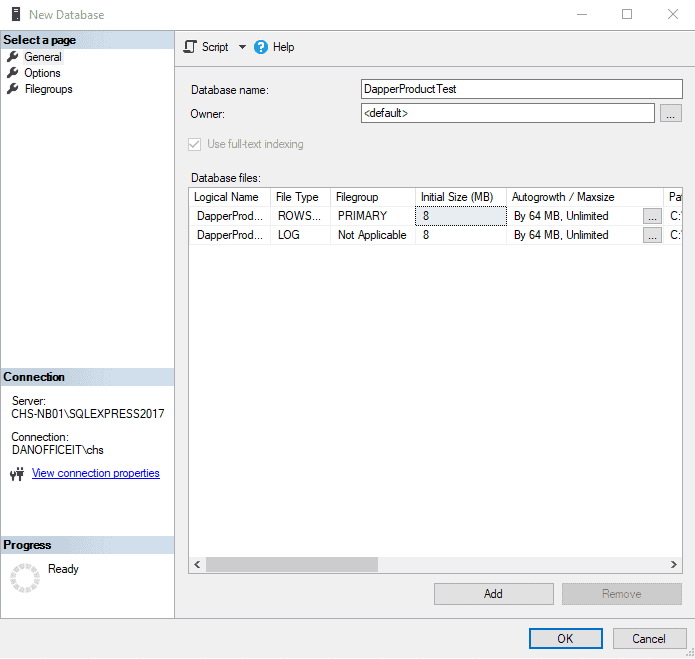
Right-click on your new database and select New Query. This gives you a blank window, where you can execute SQL on the table. Below is the code to generate the Database we are going to use for this tutorial.
CREATE TABLE Products(
    Id int IDENTITY(1,1) NOT NULL,
    Name nvarchar(50) NOT NULL,
    Barcode nvarchar(50) NOT NULL,
    Description nvarchar(max) NOT NULL,
    Price decimal(18, 2) NOT NULL,
    Added datetime NOT NULL,
    Modified datetime NULL,
 CONSTRAINT PK_Products PRIMARY KEY CLUSTERED
(
    Id ASC
)WITH (PAD_INDEX = OFF, STATISTICS_NORECOMPUTE = OFF, IGNORE_DUP_KEY = OFF, ALLOW_ROW_LOCKS = ON, ALLOW_PAGE_LOCKS = ON) ON [PRIMARY]
) ON [PRIMARY] TEXTIMAGE_ON [PRIMARY]
GO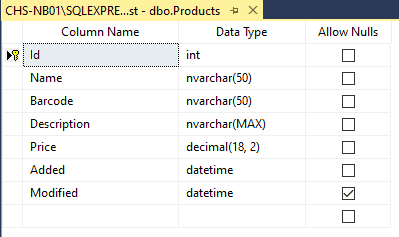
By doing a quick query at the TOP 1000 rows on the table, we see that the columns have been created as we wanted and the table is empty. You can also right-click on the table and select Design. Here you will be able to see the names, data types, primary key, and if we allow null in the column. As you can see we do allow null values in the Modified column as this will be an optional entity in the application.
Create the project
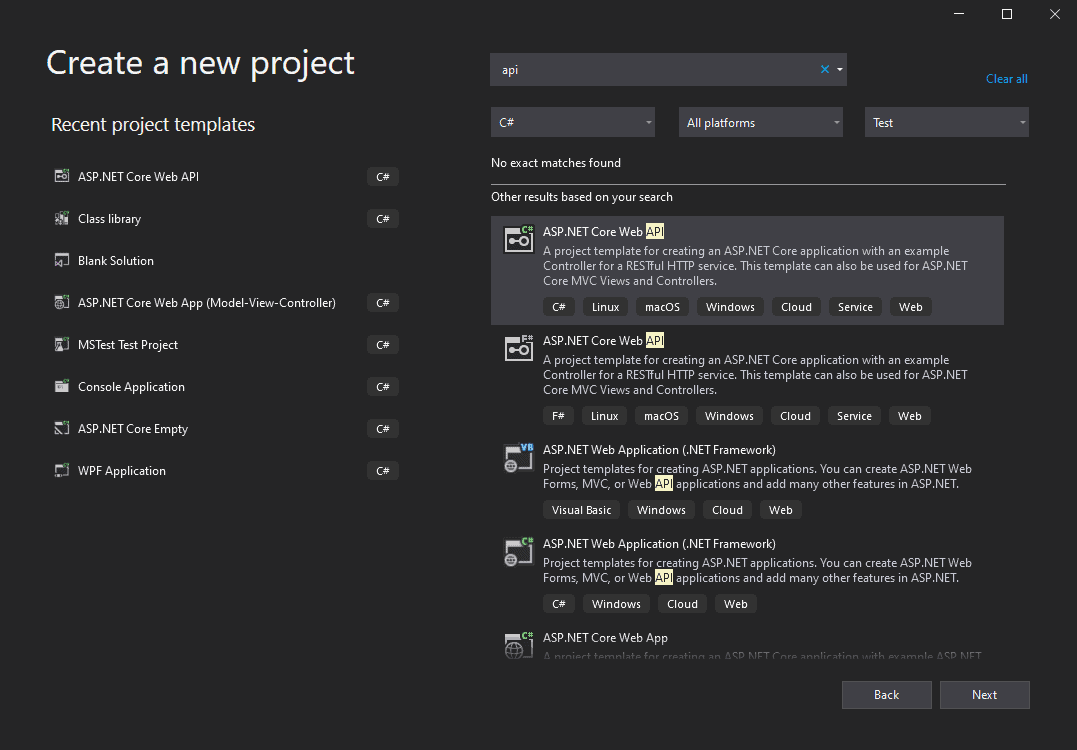
All right, now that we got the Database and Product table in place, let’s continue with creating a new ASP.NET Core Web API project. I have for demo purposes named my project NetCoreDapper.API – you can name your project anything you like.
The solution you will end up with is going to be a simple Web API with CRUD operations using Dapper, Repository Pattern, and Unit Of Work. The architecture of the application will follow the clean architecture principles and I will guide you through that throughout this tutorial about Dapper and .Net Core. Let’s go ahead and create the project.
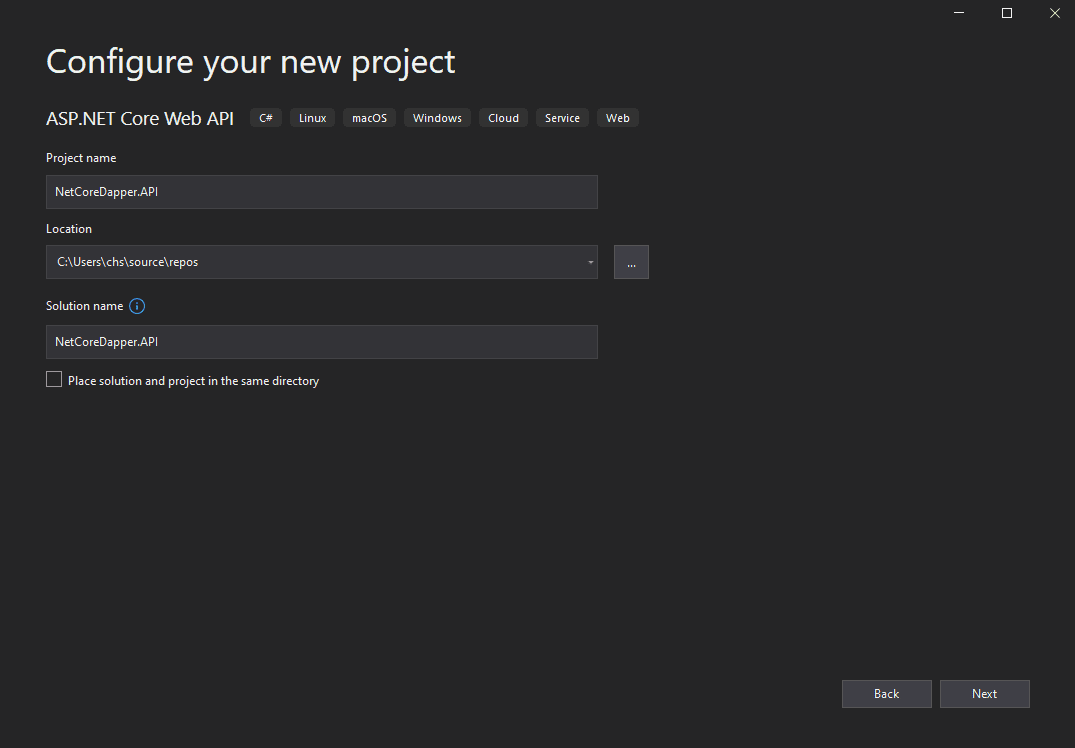
In the configuration of the project, enter the name of your application. If you normally do it, change the location and then click Next.
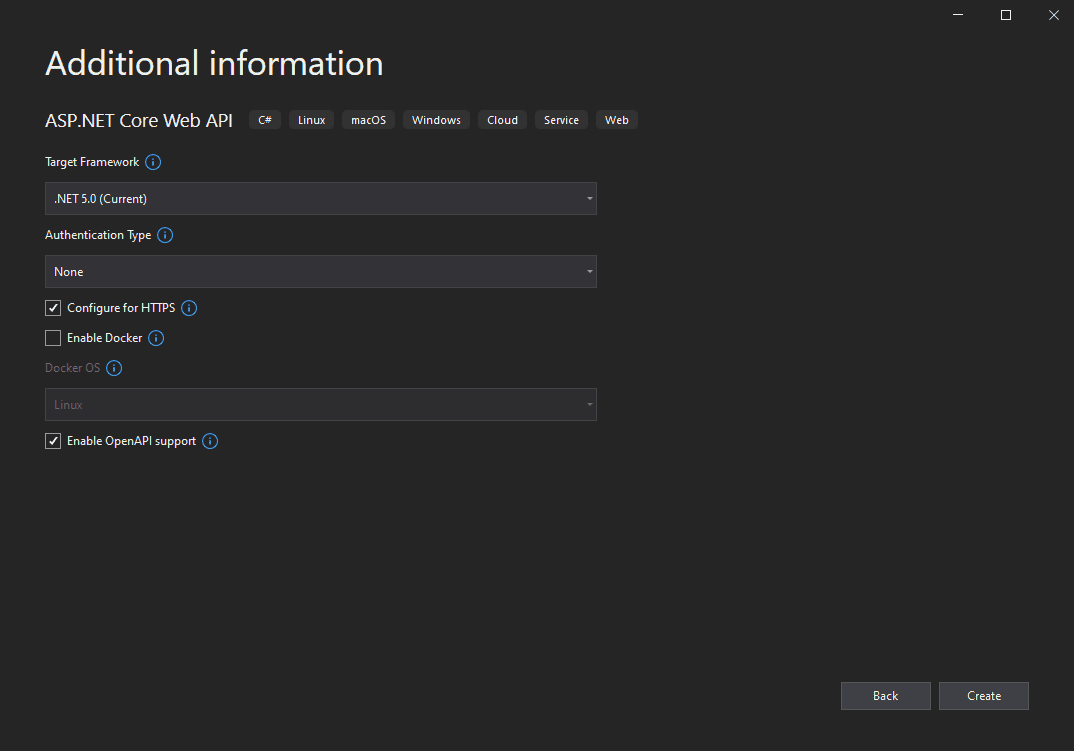
On the page with additional information, select .NET 5.0 as the target framework and leave everything else to the default like I have done below. Finish up by clicking Create.
As I mentioned before, the architecture will follow a clean design. Inside the solution, we will have 3 layers of code, below is a short explanation of each layer.
- Layer 1 is responsible for Core and Application logic. These projects will hold Interfaces and Domain models.
- Layer 2 is responsible for the infrastructure. This we are responsible for implementing Repositories and Data.
- Layer 3 is our API with controllers that will consume interfaces from our Application layer.
Okay, with the API project in place, let’s add a new Class Library and name it <YourProjectName>.Core like shown below:
Create a model for Product objects
Start by deleting the default generated Class1.cs file. Now create a new folder named Models and add a new class inside this folder. This simple demo project will offer CRUD functionality at the endpoint for the Products table we created earlier so let’s create a model class named Product.cs in the Models folder in our Core project.
Below is the result of how the Product.cs class should look like this – remember to change your own namespace name:
using System;

namespace <YourProjectName>.Core.Models
{
    public class Product
    {
        public int Id { get; set; }
        public string Name { get; set; }
        public string Barcode { get; set; }
        public string Description { get; set; }
        public decimal Price { get; set; }
        public DateTime Added { get; set; }
        public DateTime Modified { get; set; }
    }
}
As this project is very simple, this is the only class we are going to implement in the core project. I will be practicing Onion Architecture to do a clean architecture design and by keeping things simple, my hope is that you get a basic understanding of this kind of architecture.
To be compliant with this architecture style, the core project will no be depending on any other project within the solution.
Add interfaces at Application layer
Okay, next up – Add a new Class project to the solution as before, but this time name it <YourProjectName>.Application. This will be layer number 1 and is responsible for holding our interfaces. The interfaces repositories will be implemented in another layer associated with the DbContext to access the data from our previously created database instance.
When you have added the new Application project to your solution go ahead and create a new folder named Interfaces and add a new generic repository named IGenericRepository. This interface will allow you to inherit all basic CRUD operations in all other interfaces – smart right? Remember to delete Class1.cs generated by default and update the namespace name if you copy the code.
using System.Collections.Generic;
using System.Threading.Tasks;

namespace <YourProjectName>.Application.Interfaces
{
    public interface IGenericRepository<T> where T : class
    {
        Task<T> GetByIdAsync(int id);
        Task<IReadOnlyList<T>> GetAllAsync();
        Task<int> AddAsync(T entity);
        Task<int> UpdateAsync(T entity);
        Task<int> DeleteAsync(int id);
    }
}
Now we have to add a reference to the Core project from our Application project. The Application project will always and only be depending on the Core project.
With a generic interface in place, let’s inherit it in a new interface for our Product model. Add a new interface to the same folder “Interfaces” as our Generic interface and name it something like IProductRepository. Because we made the generic interface accept a class, we are inheriting IGenericRepository with T as our Product class. Below is the code you have to add, and please remember to update the namespace to match your own project.
using <YourProjectName>.Core.Models;

namespace <YourProjectName>.Application.Interfaces
{
    public interface IProductInterface : IGenericRepository<Product>
    {
    }
}
Go back to the Interface project and add a new interface named IUnitOfWork to the Interfaces folder. Inside your new Unit Of Work interface add the following code (remember to make the interface public):
namespace <YourProjectName>.Application.Interfaces
{
    public interface IUnitOfWork
    {
        IProductRepository Products { get; }
    }
}
Back in our solution, we need to add another Class Library project named Infrastructure. This is the location for the implementation of our interfaces from the Application project. I have named my infrastructure project: NetCoreDapper.Infrastructure.
Install dependencies to the Infrastructure project
This project will also be the one responsible for transferring data to and from our database and for that, we will be using Dapper, Dependency Injection, SqlClient, and Configuration Extensions. Click on Package Manager Console in the lower-left corner of Visual Studio and enter the snippet below the line by line followed by an enter (Remember to set the Default project in the console to Infrastructure).
Install-Package Dapper
Install-Package Microsoft.Extensions.Configuration
Install-Package Microsoft.Extensions.DependencyInjection.Abstractions
Install-Package System.Data.SqlClient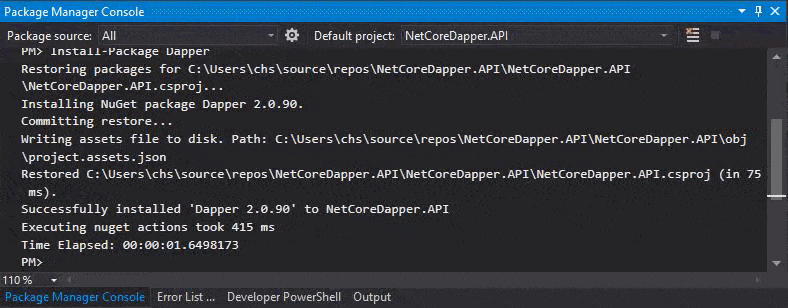
If you go and check the csproj file for the Infrastructure project, you should now be able to see a package reference to Dapper and the latest version. In this project, I’m using Dapper version 2.0.90.
Add a new folder in the Infrastructure project and name it Repositories. Also, add a reference to the application project in order for the infrastructure project to be able to use the interfaces for the implementation.
Implement Unit Of Work
Let’s start off by implementing our Unit Of Work repository. Add a new file in the repositories folder named UnitOfWork and add the code below to that class.
using <YourProjectName>.Application.Interfaces;

namespace <YourProjectName>.Infrastructure.Repositories
{
    public class UnitOfWork : IUnitOfWork
    {
        public UnitOfWork(IProductRepository productRepository)
        {
            Products = productRepository;
        }

        public IProductRepository Products { get; }

    }
}
For this to work, we have to offer some functionality. we have not made the implementation of our product repository yet, so let’s make that one. Add a new file named ProductRepository.cs and add the following code to that file.
Implement Product Repository
using Dapper;
using Microsoft.Extensions.Configuration;
using <YourProjectName>.Application.Interfaces;
using <YourProjectName>.Core.Models;
using System;
using System.Collections.Generic;
using System.Data.SqlClient;
using System.Linq;
using System.Threading.Tasks;

namespace <YourProjectName>.Infrastructure.Repositories
{
    public class ProductRepository : IProductRepository
    {
        // Make it possible to read a connection string from configuration
        private readonly IConfiguration _configuration;

        public ProductRepository(IConfiguration configuration)
        {
            // Injecting Iconfiguration to the contructor of the product repository
            _configuration = configuration;
        }

        /// <summary>
        /// This method adds a new product to the database using Dapper
        /// </summary>
        /// <param name="entity"></param>
        /// <returns>int</returns>
        public async Task<int> AddAsync(Product entity)
        {
            // Set the time to the current moment
            entity.Added = DateTime.Now;

            // Basic SQL statement to insert a product into the products table
            var sql = "Insert into Products (Name,Description,Barcode,Price,Added) VALUES (@Name,@Description,@Barcode,@Price,@Added)";

            // Sing the Dapper Connection string we open a connection to the database
            using (var connection = new SqlConnection(_configuration.GetConnectionString("DapperConnection")))
            {
                connection.Open();

                // Pass the product object and the SQL statement into the Execute function (async)
                var result = await connection.ExecuteAsync(sql, entity);
                return result;
            }
        }

        /// <summary>
        /// This method deleted a product specified by an ID
        /// </summary>
        /// <param name="id"></param>
        /// <returns>int</returns>
        public async Task<int> DeleteAsync(int id)
        {
            var sql = "DELETE FROM Products WHERE Id = @Id";
            using (var connection = new SqlConnection(_configuration.GetConnectionString("DapperConnection")))
            {
                connection.Open();
                var result = await connection.ExecuteAsync(sql, new { Id = id });
                return result;
            }
        }

        /// <summary>
        /// This method returns all products in database in a list object
        /// </summary>
        /// <returns>IEnumerable Product</returns>
        public async Task<IReadOnlyList<Product>> GetAllAsync()
        {
            var sql = "SELECT * FROM Products";
            using (var connection = new SqlConnection(_configuration.GetConnectionString("DapperConnection")))
            {
                connection.Open();

                // Map all products from database to a list of type Product defined in Models.
                // this is done by using Async method which is also used on the GetByIdAsync
                var result = await connection.QueryAsync<Product>(sql);
                return result.ToList();
            }
        }

        /// <summary>
        /// This method returns a single product specified by an ID
        /// </summary>
        /// <param name="id"></param>
        /// <returns>Product</returns>
        public async Task<Product> GetByIdAsync(int id)
        {
            var sql = "SELECT * FROM Products WHERE Id = @Id";
            using (var connection = new SqlConnection(_configuration.GetConnectionString("DapperConnection")))
            {
                connection.Open();
                var result = await connection.QuerySingleOrDefaultAsync<Product>(sql, new { Id = id });
                return result;
            }
        }

        /// <summary>
        /// This method updates a product specified by an ID. Added column won't be touched.
        /// </summary>
        /// <param name="entity"></param>
        /// <returns>int</returns>
        public async Task<int> UpdateAsync(Product entity)
        {
            entity.Modified = DateTime.Now;
            var sql = "UPDATE Products SET Name = @Name, Description = @Description, Barcode = @Barcode, Price = @Price, Modified = @Modified  WHERE Id = @Id";
            using (var connection = new SqlConnection(_configuration.GetConnectionString("DapperConnection")))
            {
                connection.Open();
                var result = await connection.ExecuteAsync(sql, entity);
                return result;
            }
        }
    }
}
Add a Connection string to appsettings.json
In order for our configuration to be able to get the connection string for our Dapper Connection, we need to specify the connection details in the appsettings.json file located in the NetCoreDapper.API project. Open that file and add the following code to the configuration file:
{
  "Logging": {
    "LogLevel": {
      "Default": "Information",
      "Microsoft": "Warning",
      "Microsoft.Hosting.Lifetime": "Information"
    }
  },
  "ConnectionStrings": {
    "DapperConnection": "Server=localhost\\SQLEXPRESS2017;Database=DapperProductTest;Trusted_Connection=True;MultipleActiveResultSets=true;"
  },
  "AllowedHosts": "*"
}
Register Interfaces to the Service Container
Start by adding a reference to your Infrastructure and Application projects from the API project.
I like to have a clean startup file in my projects and in some projects, you might get hundreds of services and that will be messy and not fun to maintain for a developer. So what to do? Fortunately, we can add an extension method for the IServiceCollection that could implement the services for us – smart right? Create a new file in your API project named ServiceExtenstions and implement your repositories and concrete classes to the service container. Below I will show you how:
using Microsoft.Extensions.DependencyInjection;
using <YourProjectName>.Application.Interfaces;
using <YourProjectName>.Infrastructure.Repositories;

namespace <YourProjectName>.API
{
    public static class ServiceExtensions
    {
        public static void AddApplication(this IServiceCollection service)
        {
            service.AddTransient<IUnitOfWork, UnitOfWork>();
            service.AddTransient<IProductRepository, ProductRepository>();
        }
    }
}
Go to your startup file in the API project and add the following line to your ConfigureServices method. It’s marked in the code below:
// This method gets called by the runtime. Use this method to add services to the container.
public void ConfigureServices(IServiceCollection services)
{
    services.AddApplication();
    services.AddControllers();
    services.AddSwaggerGen(c =>
    {
        c.SwaggerDoc("v1", new OpenApiInfo { Title = "NetCoreDapper.API", Version = "v1" });
    });
}
Add controller for products to API
Now for the last implementation part before testing out the new API with Swagger. In your API project, add a new controller in the Controllers folder named ProductController.
using Microsoft.AspNetCore.Mvc;
using <YourProjectName>.Application.Interfaces;
using <YourProjectName>.Core.Models;
using System.Threading.Tasks;

namespace <YourProjectName>.API.Controllers
{
    [Route("api/[controller]")]
    public class ProductController : Controller
    {
        //Unit of work to give access to the repositories
        private readonly IUnitOfWork _unitOfWork;
        public ProductController(IUnitOfWork unitOfWork)
        {
            // Inject Unit Of Work to the contructor of the product controller
            _unitOfWork = unitOfWork;
        }

        /// <summary>
        /// This endpoint returns all products from the repository
        /// </summary>
        /// <returns>List of product objects</returns>
        [HttpGet]
        public async Task<IActionResult> GetAll()
        {
            var data = await _unitOfWork.Products.GetAllAsync();
            return Ok(data);
        }

        /// <summary>
        /// This endpoint returns a single product by ID
        /// </summary>
        /// <param name="id"></param>
        /// <returns>Product object</returns>
        [HttpGet("{id}")]
        public async Task<IActionResult> GetById(int id)
        {
            var data = await _unitOfWork.Products.GetByIdAsync(id);
            if (data == null) return Ok();
            return Ok(data);
        }

        /// <summary>
        /// This endpoint adds a product to the database based on Product model
        /// </summary>
        /// <param name="product"></param>
        /// <returns>Status for creation</returns>
        [HttpPost]
        public async Task<IActionResult> Add(Product product)
        {
            var data = await _unitOfWork.Products.AddAsync(product);
            return Ok(data);
        }

        /// <summary>
        /// This endpont deletes a product form the database by ID
        /// </summary>
        /// <param name="id"></param>
        /// <returns>Status for deletion</returns>
        [HttpDelete]
        public async Task<IActionResult> Delete(int id)
        {
            var data = await _unitOfWork.Products.DeleteAsync(id);
            return Ok(data);
        }

        /// <summary>
        /// This endpoint updates a product by ID
        /// </summary>
        /// <param name="product"></param>
        /// <returns>Status for update</returns>
        [HttpPut]
        public async Task<IActionResult> Update(Product product)
        {
            var data = await _unitOfWork.Products.UpdateAsync(product);
            return Ok(data);
        }
    }
}
As you can see in the code above we have only injected Unit Of Work to the constructor. This injection allows us to call all underlying repositories without having to inject each of them into the constructor. This gives you a way cleaner constructor in your controllers – win-win (less code – same functionality). Now for the testing part.
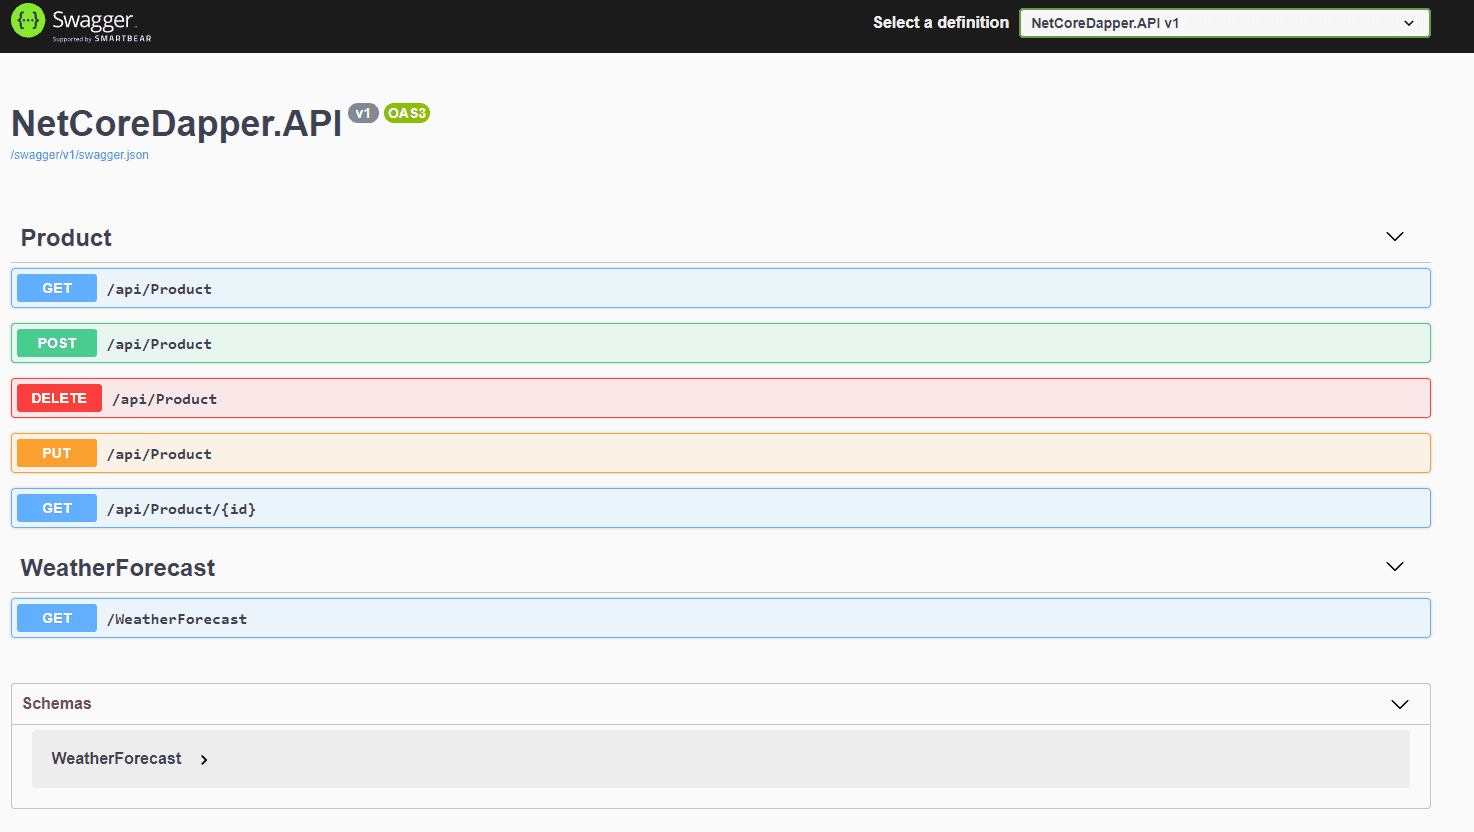
Test the Product API with Swagger
Swagger is an API testing tool. In the past, I normally used Postman for all API testing, but now with Swagger baked into the application it’s easier to just use that and I think that most developers love this tool. It is installed by default when creating a .Net Core API project with Visual Studio so no need to do any changes to the configuration.
The only thing you have to do is power up your API project with IIS Express or Docker (if you added support for it at the beginning of the project creation). The application will automatically open and redirect you to your swagger endpoint. If you don’t like this, it can be changed in Properties/launchSettings.json (I won’t show how in this tutorial).
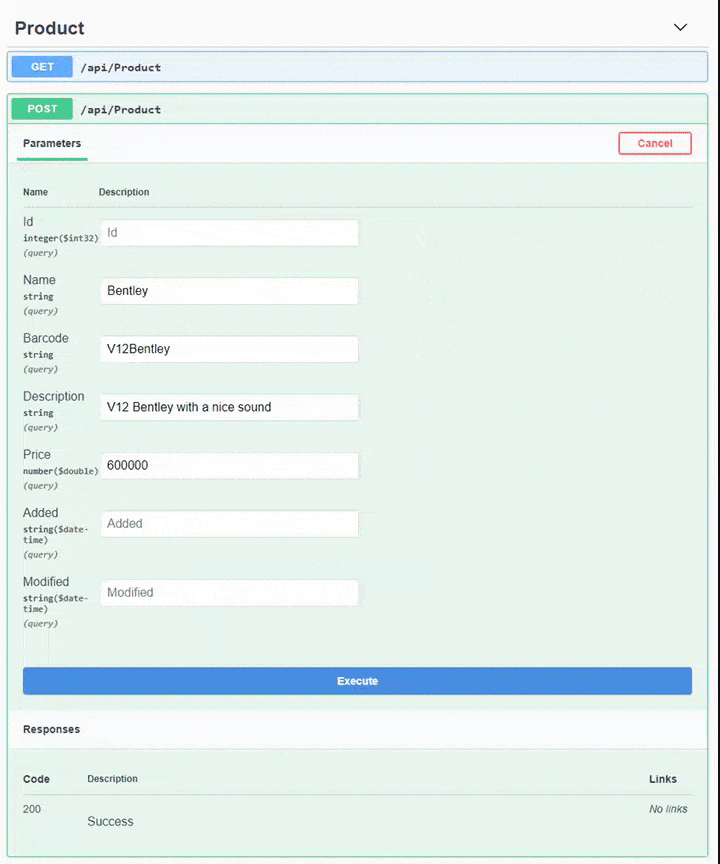
[POST] Add a new product to the database
You only have to enter Name, Barcode, Description, and Price. Remember that we are auto-filling ID (the primary key with auto-increment enabled and dates are taken from the current moment in the repository). Finish by clicking Execute, this will in the event of a successful return status 200 (OK).
[GET] Get all products
This method returns only one product here and now because I only added one product to the database. If you take a look at the returned JSON you can see that it is an array, meaning that there can be more products in the returned data.
[PUT] Update a product in the database
For this test, I created one more product in the database. Then took the ID of that product and replaced data in the input variables with what I liked and then executed the command against the API. This resulted in updated data in the database for that specific product.
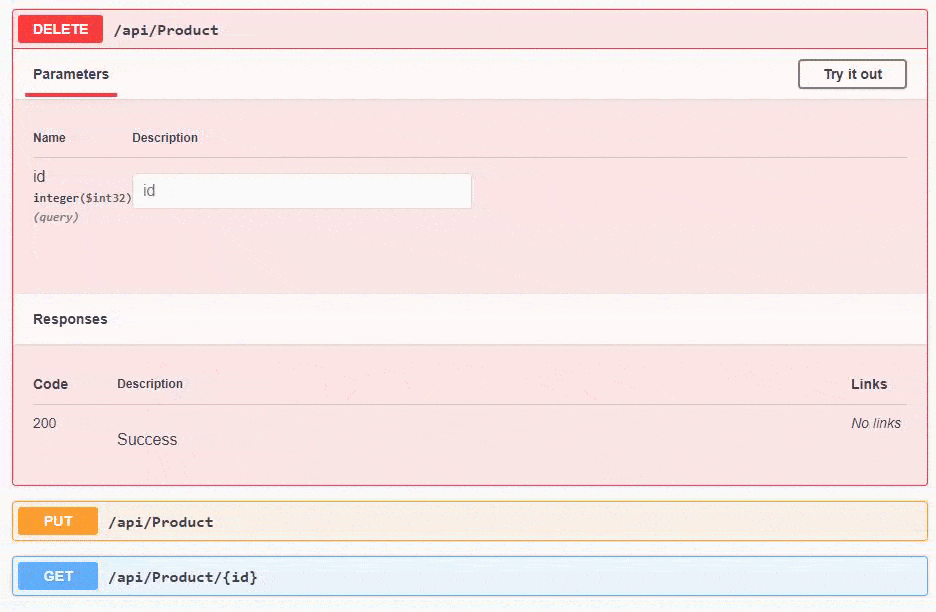
[DELETE] Delete a product from the database
In this test, I deleted the extra product I added earlier to the database. You only need to know the ID of the product in order to delete it.
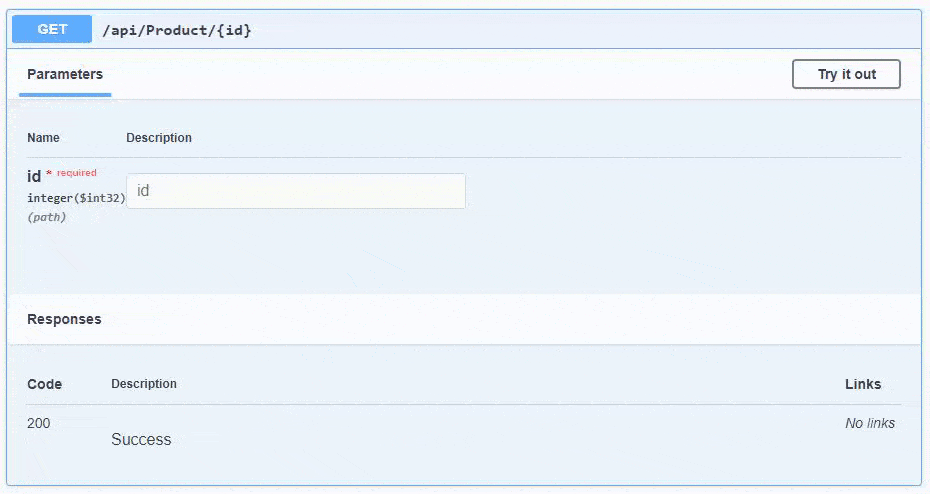
[GET] Get a specific product from the database
In this test, we are specifying that we would like to retrieve data about the product with the ID = 1.
Summary
In this tutorial, you have learned about Dapper, Repository Pattern, Unit Of Work, Service Extensions, and Clean Architecture used in .NET Core. You should now be able to implement a repository pattern along with the Unit Of Work to handle the repositories.
I have made a copy of the code in a repository on GitHub, where you can go and check out the solution if you need more details. I hope you learned a lot from this detailed tutorial about Dapper implementation in .NET Core. If you got any suggestions or comments, please leave them below and I will try my best to answer them. Have an awesome day and until next time - happy coding!