How to use FluentValidation in ASP.NET Core (.NET 6)
Learn how to implement FluentValidation in your ASP.NET Core (.NET 6) applications to build strongly-typed validation rules, the easy way.

FluentValidation is a popular .NET library for building strongly-typed validation rules. When making an application that exposes an API to other systems or a front-end to users, you wanna make sure that data entered or parsed to your application is valid.
By using a .NET library like FluentValidation you can easily configure validation rules with lambda expressions. The library even allows you to enter an error message to the client with details about why the validation failed. Below is an example:
public class CustomerValidator : AbstractValidator<Customer> {
  public CustomerValidator() {
    RuleFor(x => x.Surname).NotEmpty();
    RuleFor(x => x.Forename).NotEmpty().WithMessage("Please specify a first name");
    RuleFor(x => x.Discount).NotEqual(0).When(x => x.HasDiscount);
    RuleFor(x => x.Address).Length(20, 250);
    RuleFor(x => x.Postcode).Must(BeAValidPostcode).WithMessage("Please specify a valid postcode");
  }

  private bool BeAValidPostcode(string postcode) {
    // custom postcode validating logic goes here
  }
}
Data validation is crucial to make sure that data is correct and that our application is capable of handling it from we receive a request to we return a response. If you are ready to implement some validation rules, then let’s get started.
What is Fluent Validation?
I’m sure that we can agree that data validation is an essential thing for every application. Before FluentValidation was a .NET library, we normally would use Data Annotations to check the data coming through the application.
However, the way data annotations are used can give some issues. I like to make loosely coupled software, but you can’t do that with Data Annotations as they are tightly coupled with the models. Another thing is that they add extra complexity to both models and DTOs. If you would like to make dynamic and/or conditional validations on your data, you are going to get a difficult time.
This is where FluentValidation comes into the picture. By using FluentValidation we can replace Data Annotations as our validation logic. By using this .NET library you get full control over your validation rules which in my world means freedom, and I really like that. FluentValidation is decoupling the validation rules and logic from your models and DTOs which is taking out the complexity.
The good thing about FluentValidation is that it is an open-source library helping you to achieve clean validation in your application. Due to the term that it’s free a lot of developers are using it in their applications to make validation easy to implement and understand.
Implement FluentValidation in your ASP.NET Core Application
Let’s move on to the fun part. I will be implementing FluentValidation in an ASP.NET Core Web API built on the template in Visual Studio using .NET 6 as the framework with Docker support. I will not be showing you how to create the API from the template, but I will show you how to implement FluentValidation inside it and give you a few test examples to give you a better understanding of how it works.
#1 – Install Required Packages
To use FluentValidation in our ASP.NET Core Application we have to install the FluentValidation NuGet Package/Library. You can find the latest version tags here: FluentValidation on NuGet. Below are methods to install it in your app.
Install-Package FluentValidation.AspNetCore#2 – Configure FluentValidation
Go to Program.cs and extend the AddControllers() method with the following code:
using FluentValidation.AspNetCore;
using System.Reflection;

var builder = WebApplication.CreateBuilder(args);

// Add services to the container.

builder.Services.AddControllers()
                .AddFluentValidation(options =>
                {
                    // Validate child properties and root collection elements
                    options.ImplicitlyValidateChildProperties = true;
                    options.ImplicitlyValidateRootCollectionElements = true;

                    // Automatic registration of validators in assembly
                    options.RegisterValidatorsFromAssembly(Assembly.GetExecutingAssembly());
                });
The code above will add FluentValidation to the controller’s request pipeline. Below is an explanation.
- Line 12 enables validation of child properties. Its an option to enable wether or not child properties should be implicitly validated if a matching validator can be found. You have to enable this option, if you want it, as it by default is set to false.
- Line 13 enables validation of root elements should be implicitly validated. This will only happen when the root model is a collection and a matching validator can be found for the element type.
- Line 16 makes sure that we automatically register validators from the assembly. We get the execution assembly by using
System.Reflection.
#3 – Add validation to models
I have added a folder named Models and a folder named Validation. Inside Models, I have added two new classes Customer.cs and Address.cs to specify the model for the data going in and out of the application. Below is a representation of each model with its elements.
Customer.cs
namespace FluentValidationDemo.Models
{
    public class Customer
    {
        public int Id {  get; set; }
        public string FirstName { get; set; }
        public string LastName { get; set; }
        public int Age { get; set; }
        public int Phone { get; set; }
        public Address Address { get; set; }
    }
}
Address.cs
namespace FluentValidationDemo.Models
{
    public class Address
    {
        public int Id { get; set; }
        public string Street1 { get; set; }
        public string Street2 { get; set; }
        public string State { get; set; }
        public string Country { get;set; }
        public string City { get; set; }
        public string PostalCode { get; set; }
    }
}
Remember to change the namespace, if you copy and paste my code above. Else you will get an error unless you have the same project name. Remember to update the namespace.
Inside the Validation folder, I have added two classes named CustomerValidator.cs and another one named AddressValidator.cs. Below is the implementation. You can copy and paste it if you are using the same models as I declared above. Else you have to modify it to fit your needs.
CustomerValidator.cs
using FluentValidation;
using FluentValidationDemo.Models;

namespace FluentValidationDemo.Validation
{
    public class CustomerValidator : AbstractValidator<Customer>
    {
        public CustomerValidator()
        {
            // Check name is not null, empty and is between 1 and 250 characters
            RuleFor(customer => customer.FirstName).NotNull().NotEmpty().Length(1,250);
            RuleFor(customer => customer.LastName).NotNull().NotEmpty().Length(1, 250);

            // Validate Phone with a custom error message
            RuleFor(customer => customer.Phone).NotEmpty().WithMessage("Please add a phone number");

            // Validate Age for submitted customer has to be between 21 and 100 years old
            RuleFor(customer => customer.Age).InclusiveBetween(21, 100);

            // Validate the address (its a complex property)
            RuleFor(customer => customer.Address).InjectValidator();
        }
    }
}
AddressValidator.cs
using FluentValidation;
using FluentValidationDemo.Models;

namespace FluentValidationDemo.Validation
{
    public class AddressValidator : AbstractValidator<Address>
    {
        public AddressValidator()
        {
            // Validate address is not longer than 60 chars as many APIs for carriers doesn't allow
            // longer address as they cannot be at the shipment label
            RuleFor(address => address.Street1).NotNull().NotEmpty().Length(1, 60);
            RuleFor(address => address.Street2).Length(1, 60);

            // Validate Country
            RuleFor(address => address.Country).NotNull().NotEmpty().WithMessage("Please add the destination country");

            // Validate City and ZIP
            RuleFor(address => address.PostalCode).NotNull().NotEmpty().WithMessage("Please add reciever postcode");
            RuleFor(address => address.PostalCode).Must(ValidPostCode).WithMessage("Postalcode is not valid");
            RuleFor(address => address.City).NotNull().NotEmpty().WithMessage("Please add the reciever city");
        }

        private bool ValidPostCode(string postalCode)
        {
            // Add logic for validating postalcode here...
            return true;
        }
    }
}
As you can see we inherit AbstractValidator<T> from FluentValidation where <T> is the class/model we would like to validate, before moving on.
The validation rules always have to be defined inside the constructor of the class. Each time you would like to create a new validation rule, you simply use the RuleFor method and pass a lambda expression, where you specify what property you would like to validate.
After the lambda expression, you can use the built-in validators or create one yourself and use that. To see a list of currently built-in validators. Check out this FluentValidation validators list.
In Customer.cs I am injecting another validator to validate the address class/model. If you had a collection of data like a List<T> were T is addresses, this would require validation of complex types. You could do that by adding this line of code:
RuleForEach(x => x.Addresses).SetValidator(new AddressValidator());This would create a new rule, where you run the validation on each object in the list using the address validator.
#4 – Validate models in the API endpoints
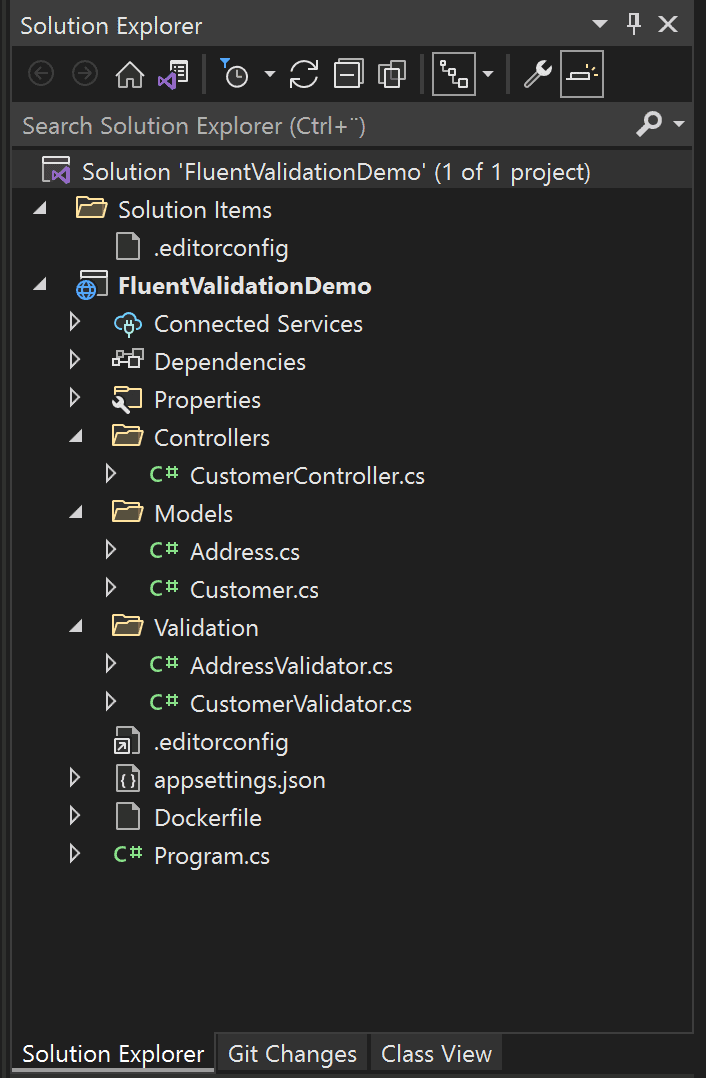
To make it easy, I have created a very simple controller to handle requests in relation to customers. Take a look at the image below to see the complete folder structure:
When using FluentValidation in our controller, we don’t have to specify what validator we would like to use, as the middleware we registered earlier will pick up the right validator automatically. To do the validation we still use ModelState and if the validator fails, at ModelState will be returned. Let’s take a look at what it would look like.
using FluentValidationDemo.Models;
using Microsoft.AspNetCore.Mvc;

namespace FluentValidationDemo.Controllers
{
    [Route("api/[controller]")]
    [ApiController]
    public class CustomerController : ControllerBase
    {
        [HttpPost("add")]
        public IActionResult Add(Customer model)
        {
            if (!ModelState.IsValid)
            {
                return StatusCode(StatusCodes.Status400BadRequest, ModelState);
            }

            return StatusCode(StatusCodes.Status200OK, "Model is valid!");
        }
    }
}
Spin up the application for a test run and request the endpoint with some sample data. Below is some sample data for a request that will generate an error.
{
  "id": 0,
  "firstName": "string",
  "lastName": "string",
  "age": 0,
  "phone": 0,
  "address": {
    "id": 0,
    "street1": "string",
    "street2": "string",
    "state": "string",
    "country": "string",
    "city": "string",
    "postalCode": "string"
  }
}
When POST requesting the endpoint with the data above, we will get an error like the one I got below:
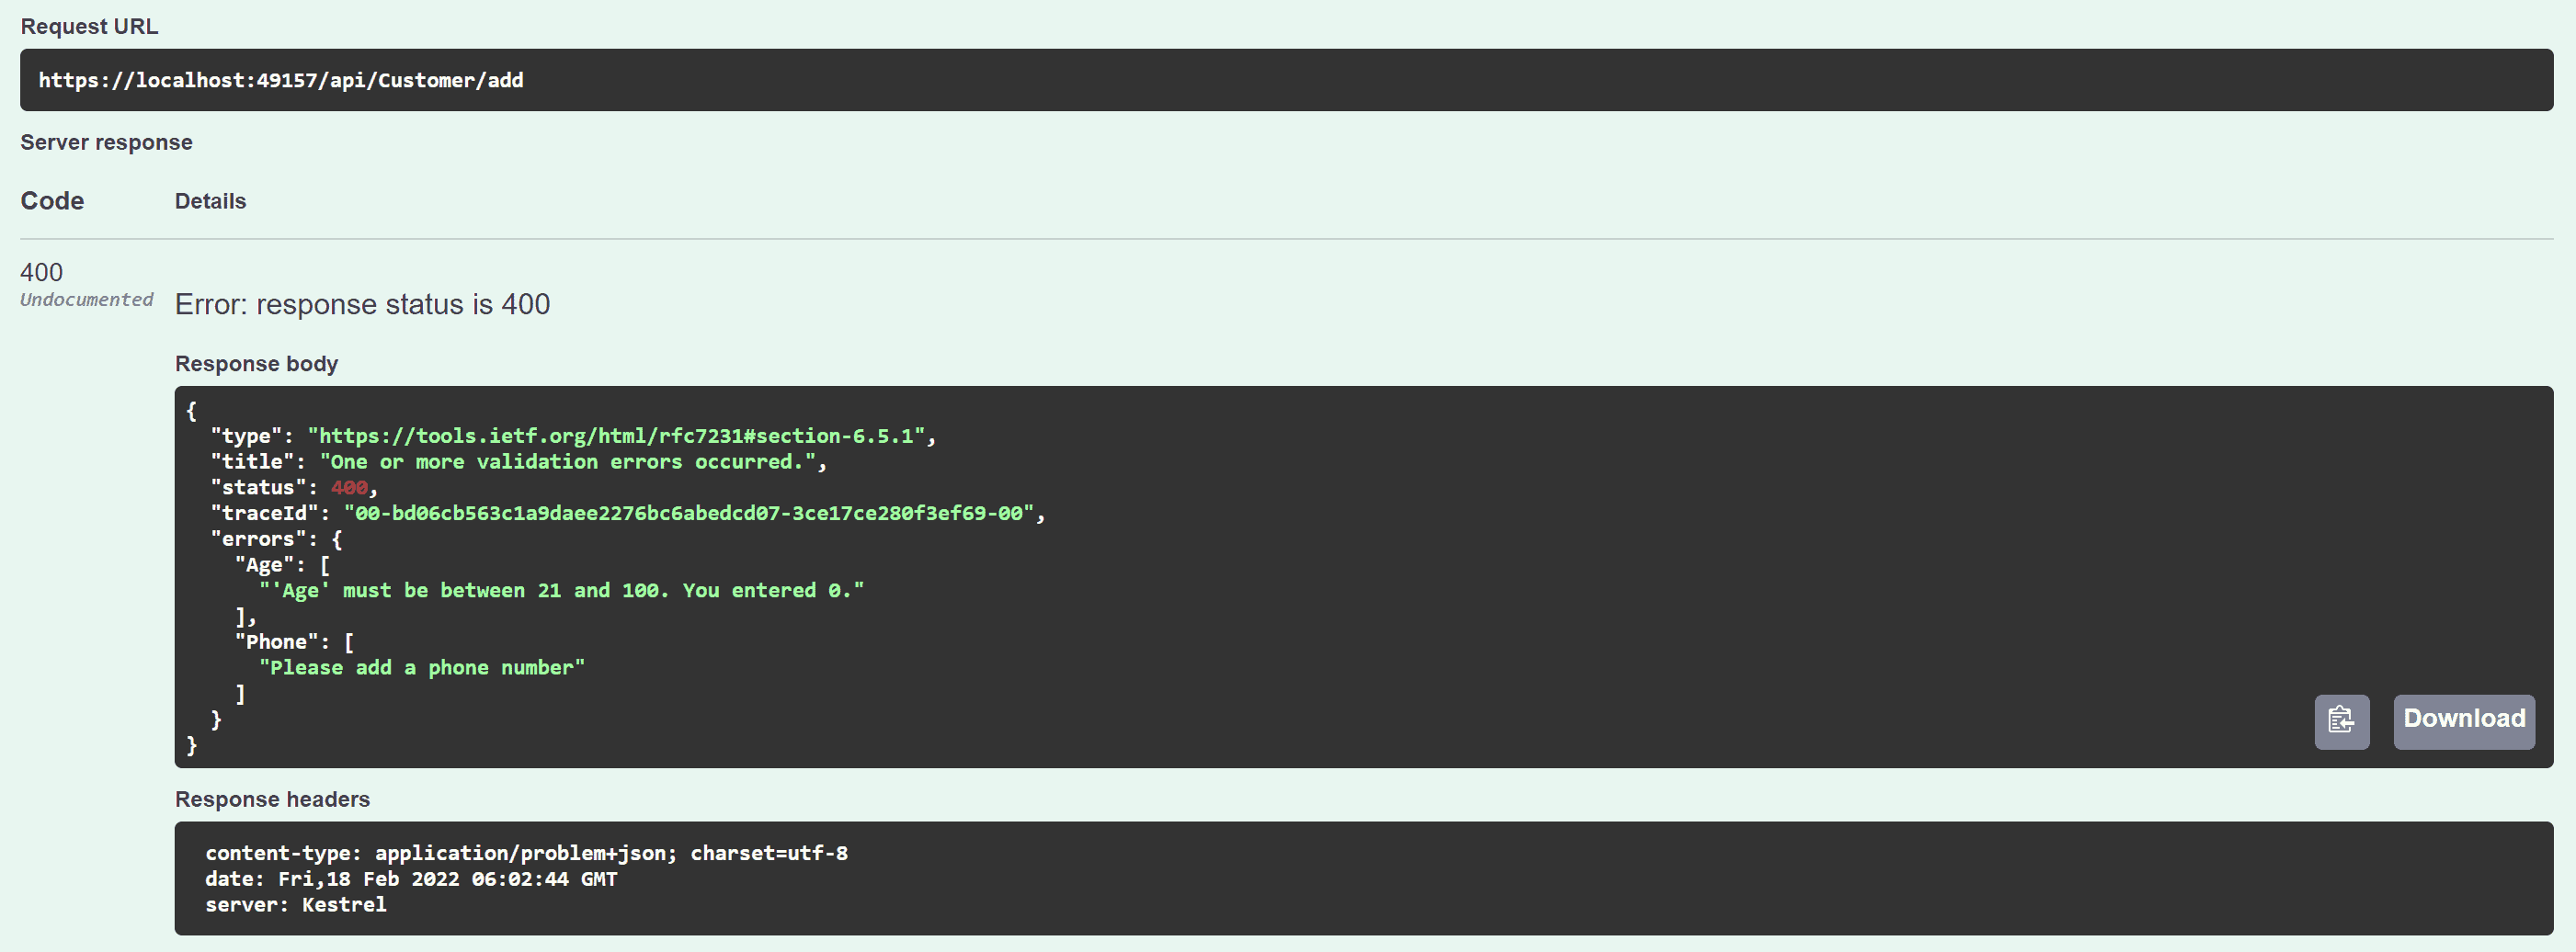
Because we entered a WithMessage("<Message-Here>") in the RuleFor method we now get the message returned when validating the model and we sent some data that was not valid. As you can see in the image above the middleware automatically picked up the right class/model.
If you want to, you can also explicitly specify the class/model you would like to make the validator for. The validate method would then return an ValidationResult object with two properties. The first one is IsValid and is a boolean telling you if the validation was a success or not. The second property is Error and will contain a collection of ValidationFailure objects with details about the error(s). You can implement it this way:
using FluentValidationDemo.Models;
using FluentValidationDemo.Validation;
using Microsoft.AspNetCore.Mvc;

namespace FluentValidationDemo.Controllers
{
    [Route("api/[controller]")]
    [ApiController]
    public class CustomerController : ControllerBase
    {
        [HttpPost("add")]
        public IActionResult Add(Customer model)
        {
            if (!ModelState.IsValid)
            {
                return StatusCode(StatusCodes.Status400BadRequest, ModelState);
            }

            return StatusCode(StatusCodes.Status200OK, "Model is valid!");
        }

        [HttpPut("update")]
        public IActionResult Update(Customer model)
        {
            CustomerValidator customerValidator = new();
            var validatorResult = customerValidator.Validate(model);

            if (!validatorResult.IsValid)
            {
                return StatusCode(StatusCodes.Status400BadRequest, validatorResult.Errors);
            }

            return StatusCode(StatusCodes.Status200OK, "Model is valid for update!");
        }
    }
}
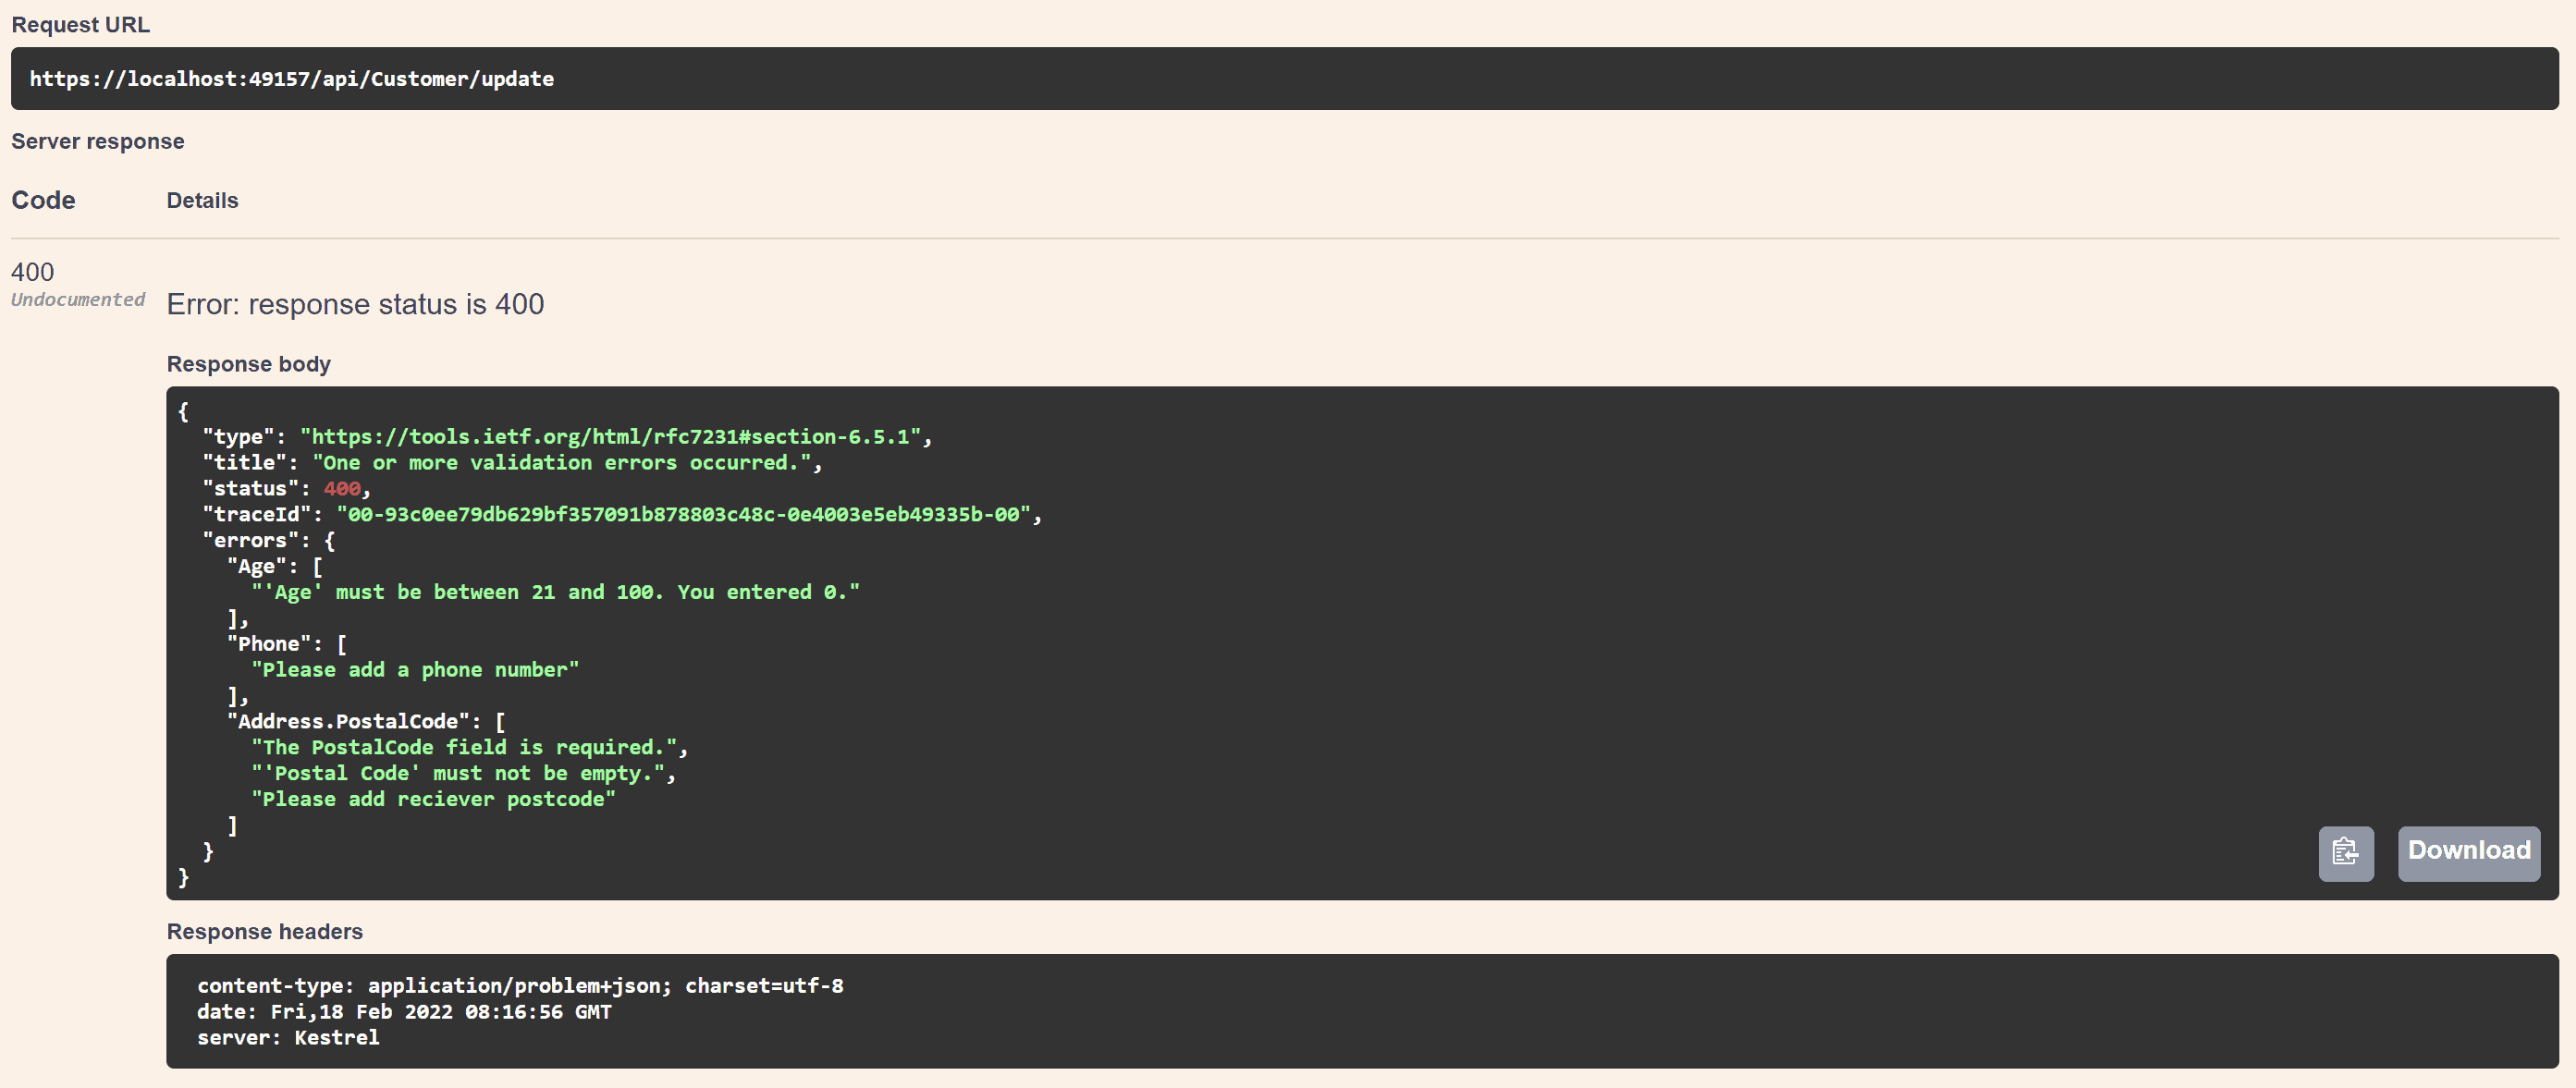
When I make a PUT request for the update path with an error in the request, I then get returned the Error Validation result:
It is totally up to you what way you would like to validate the data you get from the client. I prefer the one picking up the model automatically using the controller pipeline with the middleware registration. If you were to use this in a web application with views I would re-render the view with the error result from the validator. You would simply just do return View(model); in your controller.
F.A.Q
What is FluentValidation C#?
FluentValidation is a popular .NET library for building strongly-typed validation rules. You can use this library to replace Data Annotations in your application. It also provides an easy way to create validation rules for the properties in your models/classes, taking out the complexity of validation.
How does FluentValidation work?
FluentValidation is registered in your controller pipeline as middleware. By creating validators for each of your models by inheriting AbstractValidator from the library, you can easily create validation rules using RuleFor and then the property you would like to create validation rules for.
Is FluentValidation open source?
Yes it is fully open-source and you can check out the official repository on Github right here or you can have a look at the NuGet Package here. It also got an OpenCollective page, where you can contribute to the project. There is also an official FluentValidation documentation page, where you can read much more about the project.
Summary
I’m sure we can agree that data validation is very important to make sure we don’t cause any internal errors later on in our application. FluentValidation is a great alternative to the built-in Data Annotations when we want to validate model data.
I personally really like FluentValidation and use it in most of my projects as it makes it easy and clear to understand the validation rules for every other developer reading my code. It offers great control of the rules and you can easily implement validation on complex types making it a great choice for doing validation.
I hope you have learned something new from this article. If you got any issues, questions, or suggestions, please let me know in the comments below. I will get back to you as soon as possible.