
Logs are important, and Serilog makes it easy. Unfortunately, not all log records are created equal, resulting in a more challenging time for developers to debug an application. In a world where software development is crucial for the world to be fully functioning, logging often takes a backseat to unit testing and documentation.
However, logging is a very useful/powerful tool for debugging in production environments, and it provides the backend/ops teams vital data on the usage of the applications by the clients. When an application stops working or a feature suddenly returns errors or starts to crash, the logs are the place to start troubleshooting to find a quick fix for the issue(s).
In this tutorial, I will teach how easy it is to implement logging in ASP.NET Core using Serilog in an ASP.NET Core Console Application. You can of course adapt this into an API, etc... If you are ready, let's log some data from our .NET Apps to the console and a file.
What is Serilog?
Serilog is an easy-to-set-up-and-use logging library for .NET with a very clear API. Serilog adds support for structured logging, which makes it easier to troubleshoot an application.
 serilog
With Serilog you get the option to log to multiple targets like:
- Files
- The Console
- An email
- Elasticsearch
- Amazon
- Azure
- Datadog, and many other "sinks"/options
I always recommend Serilog no matter what size the application is. You can use Serilog in the most simple tiny application and the large complex enterprise solutions.
Prerequisites
All you need to follow along in this tutorial are the following:
- An internet connection (of course)
- Visual Studio IDE, Rider, or similar
- A basic understanding of C#
# 1 - Create a Console Application
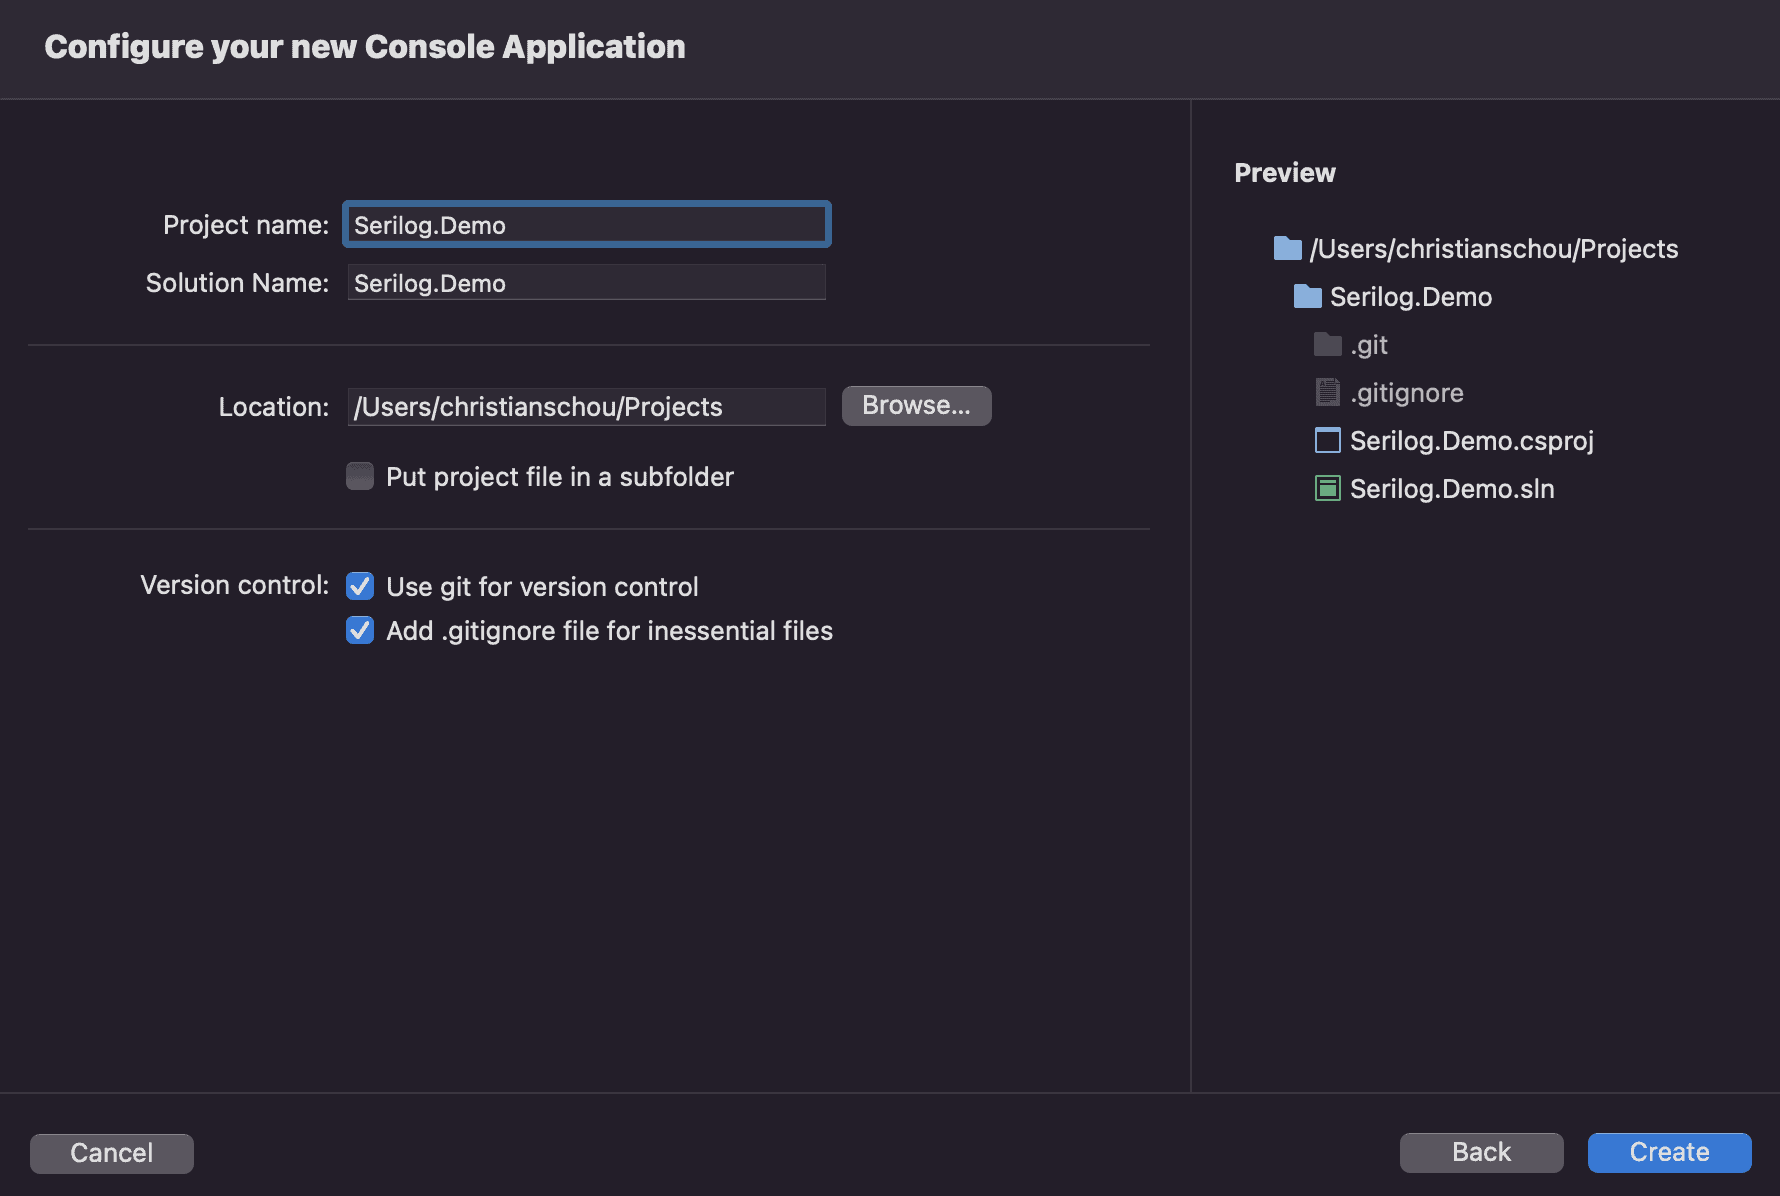
The first thing we have to do is create a new project. The project template I will be using for this tutorial is based on a simple .NET Core Console Application in Visual Studio.
# 2 - Install Dependencies
Before we start implementing code in our application we have to install some dependencies. We can install new dependencies in Visual Studio in various ways. I always prefer to use the Package Manager Console, but you can also do it through the dotnet-CLI or by using the built-in UI package manager in Visual Studio.
You can open up the NuGet Package Manager by clicking Tools --> NuGet Package Manager --> Package Manager Console to bring up the console. Inside the console, you have to run each of the below install commands for our Serilog logging project.
Install-Package Serilog
Install-Package Serilog.Sinks.Console
Install-Package Serilog.Sinks.File
Alternatively, you can use the built-in package manager, as shown below.
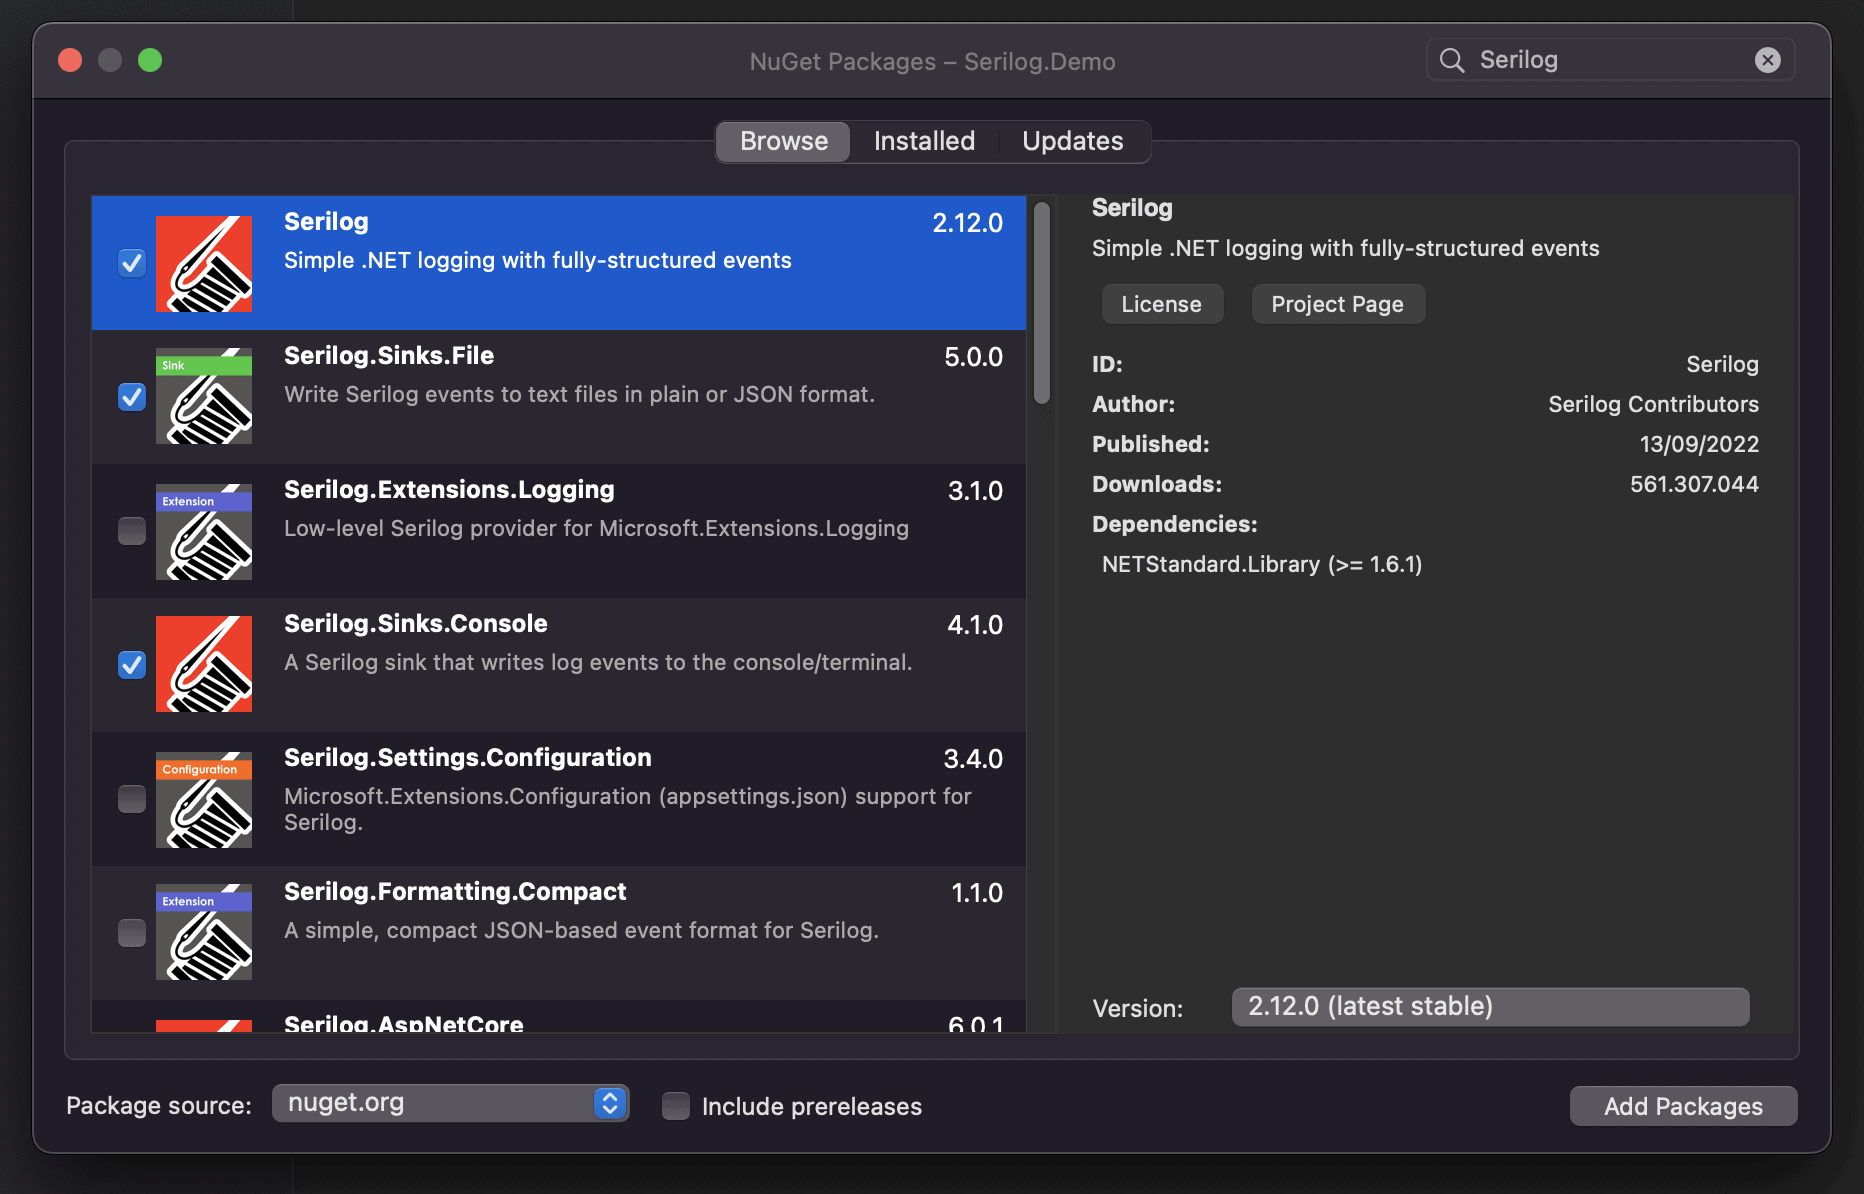
That's it - let's move on and create a new logger for our demo project.
# 3 - Create a new logger
With the dependencies in place, we can now move on to the part where we begin to implement the Serilog logger in our .NET application. Open Program.cs and add the following code to get started with the bare minimum for Serilog to work.
using Serilog;
using Serilog.Events;
using Serilog.Formatting.Json;

Log.Logger = new LoggerConfiguration()

    // Add console (Sink) as logging target
    .WriteTo.Console()

    // Set default minimum log level
    .MinimumLevel.Debug()

    // Create the actual logger
    .CreateLogger();

Console.WriteLine("Hello, World!");

Log.CloseAndFlush();
The code is quite self-explanatory. We add a new logger with a logging configuration for our Console and set the minimum level of logs to Debug().
You can configure Serilog in six different levels for logging. Below is a list with a short explanation:
Fatal- Is used for reporting errors that force the application to shut down.Error- Is only used for logging serious problems that occurred while executing some code in your program.Warning- Is used when you have to report a non-critical event. This could also be a warning about unusual behavior in the application.Information- The information level is used when you got informative messages from events in a program. This could be logs about step completion in a program or when a user is signed in. Typically a system administrator loves this kind of log level - especially when they are delivered to a Syslog Server (Yeah I have been in that chair too... I know what I am talking about 😅).Debug- Debug messages are used to extend the information level when processing data in your application.Verbose- It's in the name. The verbose level is the noisiest level. I only activate this kind of log when I have to troubleshoot an application.
If you don't specify a level inside the LoggerConfiguration(). The Information level will be used by default. As you can see it's very easy to get started implementing Serilog in your .NET Apps.
# 4 - Extend the logger configuration
I promised you to log files both to the console and into a file. To log files into a file, we need to enable that option in our LoggerConfiguration().
Serilog can be configured in two ways. You can either do it using a configuration file or programmatically. I will show you both methods in this tutorial. Personally, I prefer doing it through a configuration file because I can change the logging behavior dynamically without having to update my Program.cs file for each environment.
Extend Logging configuration programmatically
The first option is the one you can go with if you prefer the programmatically way. The below code will add the following configuration to our logging config.
- Write two different log files. The first one will include warnings and logs based on higher severity.
- The second log-to-file configuration will create a new log file each day and add all logs with warning levels.
- By default, all logs from the application with debug level will be shown in the console at runtime.
using Serilog;
using Serilog.Events;
using Serilog.Formatting.Json;

Log.Logger = new LoggerConfiguration()

    // Add console (Sink) as logging target
    .WriteTo.Console()

    // Write logs to a file for warning and logs with a higher severity
    // Logs are written in JSON
    .WriteTo.File(new JsonFormatter(),
        "important-logs.json",
        restrictedToMinimumLevel: LogEventLevel.Warning)

    // Add a log file that will be replaced by a new log file each day
    .WriteTo.File("all-daily-.logs",
        rollingInterval: RollingInterval.Day)

    // Set default minimum log level
    .MinimumLevel.Debug()

    // Create the actual logger
    .CreateLogger();

Console.WriteLine("Hello, World!");

Log.CloseAndFlush();
Configure Serilog using appsettings.json
Create a new file named appsettings.json and appsettings.Development.json in the root of your project. Add the following code inside appsettings.json:
{
  "Serilog": {
    "Using": [ "Serilog.Sinks.Console", "Serilog.Sinks.File" ],
    "MinimumLevel": "Debug",
    "WriteTo": [
      {
        "Name": "Console",
        "Args": {
          "outputTemplate": "[{Timestamp:HH:mm:ss} {SourceContext} [{Level}] {Message}{NewLine}{Exception}"
        }
      },
      {
        "Name": "File",
        "Args": {
          "path": "Logs/logs.txt",
          "outputTemplate": "[{Timestamp:HH:mm:ss} {SourceContext} [{Level}] {Message}{NewLine}{Exception}",
          "formatter": {
            "type": "Serilog.Formatting.Compact.CompactJsonFormatter, Serilog.Formatting.Compact"
          }
        }
      }
    ],
    "Enrich": [
      "FromLogContext",
      "WithMachineName",
      "WithThreadId"
    ],
    "Properties": {
      "Application": "Serilog Demo"
    }
  }
}
For the appsettings.Development.json file, you just add Logs/test-logs.json instead of the default Logs/logs.json value in the path for File.
Open Program.cs and replace it with the following code.